Saturday, July 30, 2016

Animal Safari Dress Makeover

This dress had me immediately. I just knew it had so much potential with that amazing fabric.


I cut off the purple sleeves, the pink trim on the bottom, and unstitched all of the trims around the edges (this part honestly took the longest). Then I hemmed up the bottom and the sleeves.

Ta da!


Side by side


 Isn't the fabric amazing?!

Wednesday, June 15, 2016

Mini Series Part 3

This is my cute niece Ivy again, from the earlier dress makeover. This is the 2nd one I did. A bit more simple refashion, but still a great result! 

Here's the original 

What I did:
1. Cut a few inches off the bottom and hemmed.
2. Used the excess from the bottom and created little sleeves.
3. Used the rest of the fabric to create a little tie around the waist.

Voila! 


Side by side:

Isn't she the cutest?!


More refashions and dresses on my instagram

Saturday, June 4, 2016

Mini Series Part 2

This is my other adorable niece, Phoebe. This little lady was nice enough to let me refashion a dress just for her. I think she was kind of nervous/confused when she put the first dress on too, but she was a good sport!

Original 


What I did:

1. Cut the dress to her length (about 20 inches off), zig-zagged the edges and hemmed it.
2. Tapered in the bodice area to fit. 
3. Moved up the pockets. Unstitched and restitched into place.
4. Made a little belt out of the excess fabric.

Result! 


Side by side


This dress is great because it can be worn as a looser shift dress or with a little belt to be little more girly.


More refashions and vintage on my instagram here!


Monday, May 30, 2016

Mini Series Part 1

This is my adorable niece Ivy. She was my model for this refashion! I think she was pretty skeptical when she tried on the original (can't blame her), but she's pretty happy with the finished result!
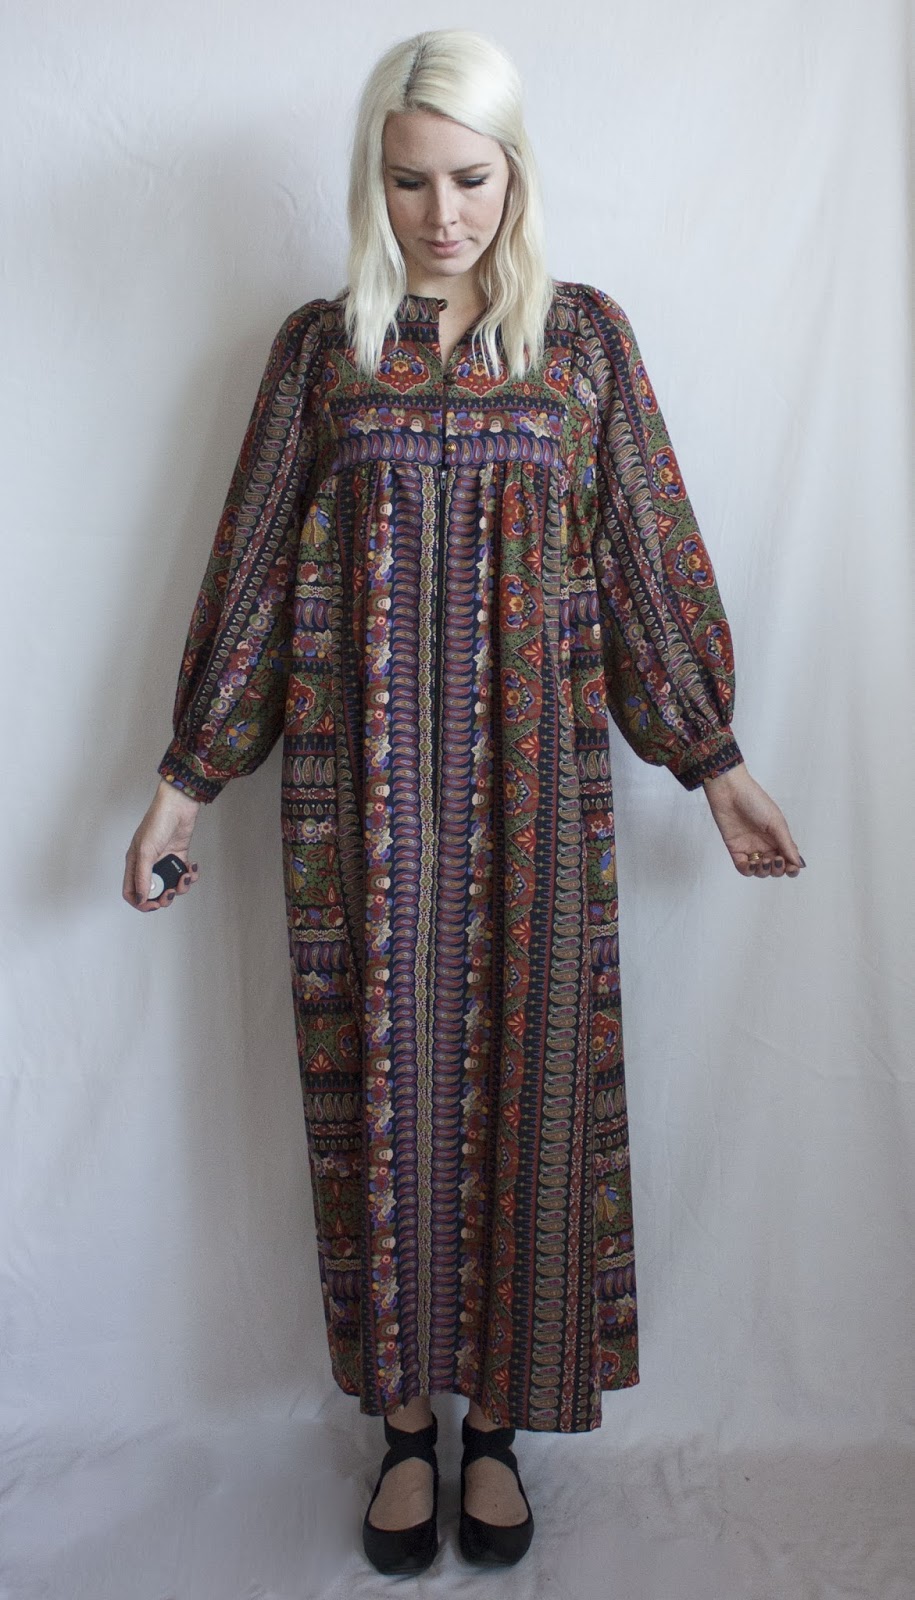
Here's the original 


What I did:

1. Cut the sleeves off and hemmed them to the edge using this method.
2. Took off about 18 inches from the bottom and hemmed it.
3. Tapered in both of the sides to fit.
4. Added some triangle panels on each side of the skirt to give it more of a fit and flare shape (sorry I didn't get a great photo of them!).
5. Unstitched the pocket and moved it higher up.
6. Added a button and buttonhole at the very top of the neck.
7. Changed the buttons (to heart buttons!).
8. Made a little belt out of the excess fabric.

New dress! 


Side by side:


More refashions on my instagram here!

XO


Monday, May 9, 2016

Floral and Paisley Long Sleeve Dress Remake

When I first saw this dress, I really wasn't pay attention to much else beside the amazing fabric. I loved the patterns and knew I could make something beautiful out of this.

Dress before 


What I did:  
1. Trimmed the sleeves and did a rolled hem (tutorial to come!) on the edges to give the 
sleeves an organic flowy look rather than a solid flat hem.
2. Brought up the length and hemmed it.
3. Added a belt!

Here's the after 


Side by side


Refashioned dresses are always listed for sale in my Etsy shop HERE!

Also, follow along on Instagram HERE for more refashions and other vintage goodies!


Tuesday, May 3, 2016

Paisley Pleated 80's Dress Makeover

This is the original dress:

Baggy short sleeves to the elbow, baggy bodice area, shoulder pads, and an awkward mid-length skirt. Ok but the collar is amazing, right?!


What I did:
1. Cut and hemmed the sleeves to a sleeveless/cap sleeve (using this technique)
2. Cut and hemmed the skirt to just above the knee.
3. Tapered in the bodice for a better fit around the torso.
4. Removed the belt and added a thinner, sleeker one.


Here's the new dress:


Side by side:


This is definitely one of my very favorite refashions of all time! <3 

Tuesday, April 12, 2016

Floral Linen Dress Makeover

When I first saw this dress, I had serious tunnel vision toward the fabric. The linen with floral print had me sold, so I knew I had to make something pretty out of this.


Here's the original. Shapeless with an awkward length (but that fabric!!)
 ↴ 

Here's the result

What I did:

I cut about 6-7 inches off the bottom and finished the hem. Then, using that excess fabric, I created short sleeves using a super simple method. I placed the fabric underneath the shoulder, pinned it and sewed over the top of the edge. I didn't have to unstitch or turn anything inside out, and I think it turned out pretty nicely!


The ol' side by side.

XOXO